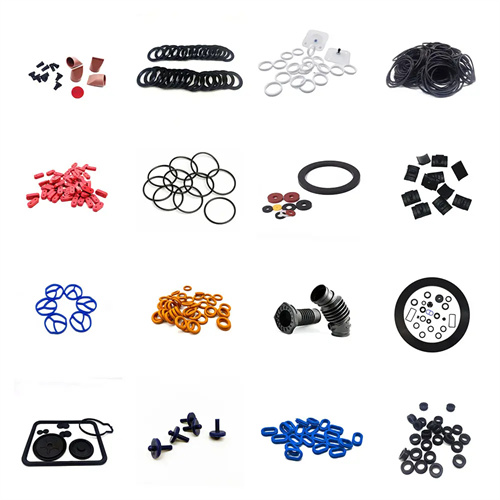
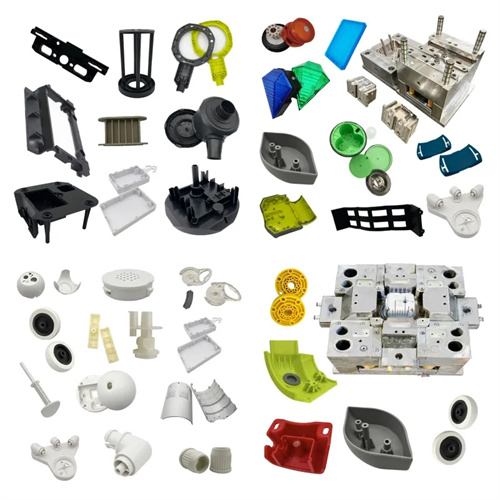
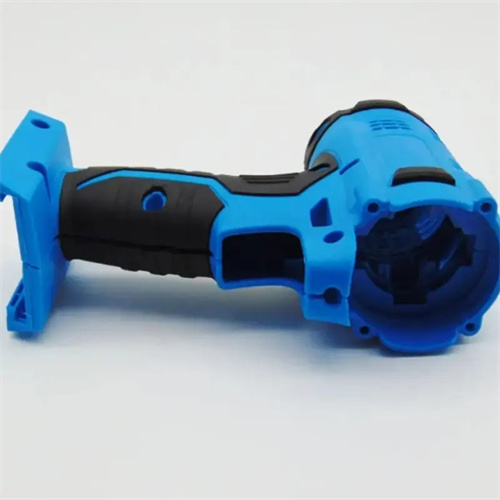
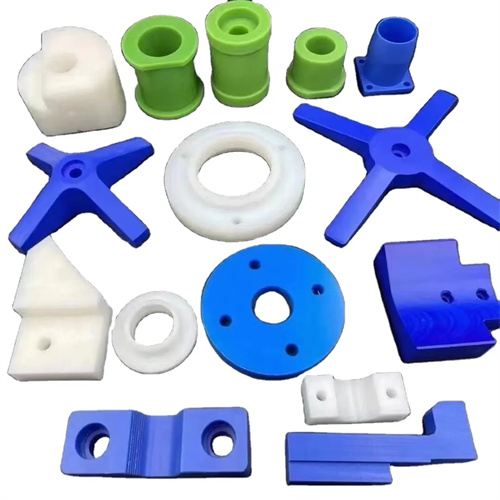
Assembly of injection molded parts
The assembly of injection molded parts involves combining the mold’s cavity, core, slider, ejector mechanism, and other components into a complete mold according to design requirements. The quality of this assembly directly impacts the mold’s operating accuracy, part quality, and production efficiency. The assembly process must strictly adhere to assembly procedures to ensure that the clearances, positioning accuracy, and motion coordination between components meet design standards. Failure to do so can lead to mold malfunction, flash on parts, dimensional deviations, and other issues. Therefore, mastering the key points and process methods for injection molded parts assembly is crucial to ensuring mold performance.
Pre-assembly preparation is fundamental to ensuring assembly quality and includes component inspection, cleaning, and pretreatment. First, all molded parts must be inspected for dimensional accuracy. For example, the fit between the cavity and core should be measured with tools such as micrometers and calipers to ensure compliance with the drawing requirements. Generally, the clearance should be controlled between 0.01-0.03mm, and for precision molds, 0.005-0.01mm. Next, the surface quality of the parts must be checked. The molded surfaces of the cavity and core must be free of scratches, dents, or burrs, with a surface roughness Ra of no greater than 0.8μm. Polishing should be performed as necessary. Cleaning involves removing oil, rust, and machining residue from the part surface. Ultrasonic cleaning or alcohol wiping can be used to ensure that the assembly surface is clean and free of impurities. Parts requiring heat treatment must be checked for hardness compliance. For example, cavity inserts should have a hardness of 50-55HRC to ensure wear resistance. If the hardness is insufficient, reheat treatment is required.
The assembly of the cavity and core is a crucial step in molded part assembly, ensuring precise relative positioning and clearances. For integral cavities and cores, they are secured to the mold plate with locating pins and bolts. The clearance between the locating pins and pinholes should be controlled within 0.005-0.01mm to ensure accurate positioning. During assembly, the verticality and flatness of the cavity and core should be checked with a dial indicator. The verticality deviation should not exceed 0.02mm/m, and the flatness deviation should not exceed 0.01mm/100mm. For modular cavities and cores, the gaps between inserts must be strictly controlled, generally no more than 0.01mm. Otherwise, seam marks will appear on the surface of the plastic part. During assembly, shimming or grinding can be used to eliminate gaps. For example, a 0.005-0.01mm thick copper sheet can be inserted between the insert and the mold plate, or the joint surface can be manually ground until a feeler gauge confirms the gap. In addition, the installation of the cavity and core must ensure symmetry with the center axis of the mold, with a deviation of no more than 0.02mm to avoid eccentric loading when closing the mold.
The assembly of moving parts such as the slider and core-pulling mechanism requires ensuring flexibility and positioning accuracy. The clearance between the slider and the guide rail should be controlled between 0.01-0.02mm. Excessive clearance can easily cause the slider to wobble, affecting the dimensional accuracy of the plastic part; too small a clearance can cause movement to become jerky. During assembly, the clearance can be adjusted by grinding the contact surface between the slider and the guide rail. Test the contact area with red lead powder to ensure that it is at least 70% and evenly distributed. The slider’s positioning devices (such as locating pins and springs) must be securely installed to ensure that the slider remains accurately positioned in both open and closed mold states, with a positioning deviation of no more than 0.03mm. For the inclined guide pin core-pulling mechanism, the clearance between the guide pin and the slider hole should be 0.02-0.04mm, and the axis of the guide pin must remain parallel to the direction of slider movement, with a deviation of no more than 0.01mm/m. Failure to do so can result in excessive core-pulling force or slider jamming. After assembly, manually test the slider’s movement to ensure smooth core pulling and reset, without any sticking or unusual noises.
The assembly of the ejection mechanism must ensure that the ejection is smooth, synchronous and without interference. The fitting clearance between the ejector and the ejector hole is generally 0.01-0.02mm, and the extension length of the ejector must be consistent, with a deviation of no more than 0.05mm, to avoid deformation caused by uneven force when the plastic part is ejected. The fitting clearance between the ejector plate and the guide pin should be controlled at 0.015-0.03mm to ensure that the ejector plate can move flexibly and without jamming. For the ejector plate ejection mechanism, the contact area between the ejector plate and the cavity must be uniform, and grinding must be performed if necessary to ensure balanced force on the plastic part during ejection. During the assembly process, the interference between the ejection mechanism and other components must be checked, such as whether the position of the ejector and the core or slider conflicts. This can be verified by simulating the mold opening and ejection action to ensure that there is no collision during the entire movement. In addition, the reset spring of the ejector mechanism must be firmly installed with uniform elastic force to ensure that the ejector plate can be quickly and accurately reset, and the reset deviation must not exceed 0.03mm.
Post-assembly debugging and testing are key steps in verifying assembly quality, including mold accuracy testing, mold trial verification, and performance testing. Mold accuracy testing requires the use of a dial indicator to measure the gap between the movable mold and the fixed mold. The gap should be uniform on all sides, with a maximum deviation of no more than 0.02mm. Otherwise, the template or guide pin and guide sleeve fit needs to be adjusted. During mold trials, the molding quality of the plastic part needs to be observed to check for defects such as flash, sink marks, and dimensional deviations. If flash is found, it may be that the gap between the cavity and the core is too large, which requires re-grinding and adjustment. If the plastic part is too small, it may be that the ejector mechanism is not resetting correctly, and the positioning of the ejector plate needs to be checked. Performance testing includes measuring parameters such as the mold opening and closing speed, core pulling force, and ejection force to ensure that they meet design requirements. For example, the mold opening and closing speed should be smooth and without obvious impact, and the core pulling force should be able to meet the core pulling requirements of the plastic part, with a certain margin. Any problems found need to be adjusted and repaired in a timely manner until all performance indicators of the mold meet the standards. Only through strict assembly technology and meticulous debugging and testing can the assembly quality of injection molded parts be guaranteed, laying the foundation for the stable operation of the mold.