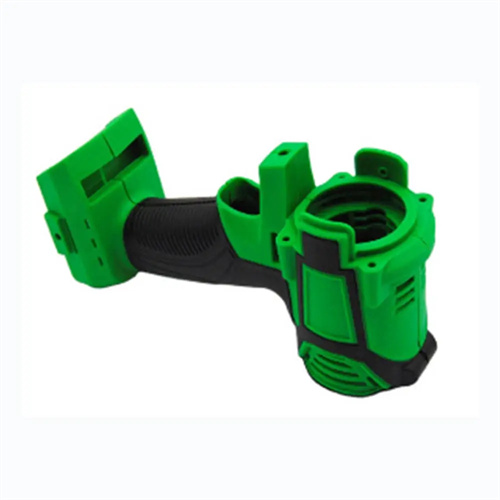
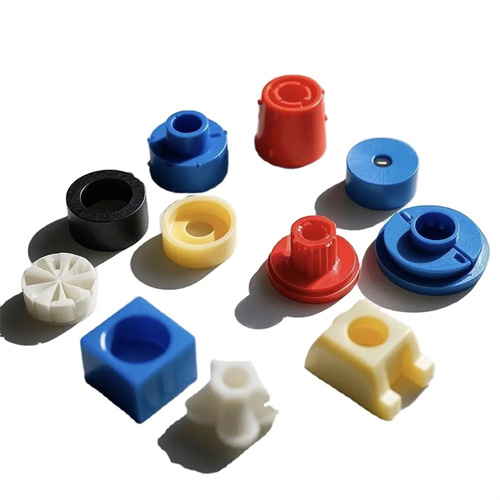
Injection molding pneumatic demoulding
Pneumatic demolding for injection molding utilizes the thrust of compressed air to separate the plastic part from the mold. It is widely used in the production of thin-walled, large, or complex-shaped plastic parts. Its core principle involves placing air holes in specific locations within the mold cavity or core. Once the part has cooled after molding, a control system releases compressed air. The airflow acts at a constant pressure on the surface of the part, generating a uniform release force that frees the part from the mold’s constraints. Compared to mechanical demolding, pneumatic demolding avoids defects such as whitening and deformation caused by ejector pin contact. It is particularly suitable for products requiring high surface quality, such as automotive dashboards and appliance housings. For example, when producing a polypropylene sheet as thin as 1mm, traditional ejector pin demolding can easily cause excessive localized stress on the sheet, resulting in wrinkles. However, using 0.5MPa compressed air, evenly distributed through the air holes on all sides, allows the sheet to be smoothly released from the mold cavity, increasing the yield rate by over 30%.
The components of a pneumatic demolding system directly impact demolding effectiveness, primarily including the air source, pressure regulating valve, solenoid valve, air piping, and mold pore structure. The air source must provide stable compressed air, typically set within a pressure range of 0.3-0.8 MPa. The specific value depends on the part’s material and structure. For example, flexible materials like polyethylene can use a lower pressure (0.3-0.5 MPa), while rigid materials like polycarbonate require a higher pressure of 0.6-0.8 MPa to overcome demolding resistance. The pressure regulating valve precisely controls air pressure to prevent excessive pressure from causing part fling or deformation. The solenoid valve, linked to the injection molding machine’s control system, ensures precise air release at the moment of mold opening, preventing premature ejection that could cause deformation before the part has fully cooled. The mold’s pores are typically 0.5-1 mm in diameter and should be evenly distributed along the part’s edges or in hidden locations. For example, placing an air pore at each of the four corners of a box-like part creates a symmetrical thrust and minimizes skew during demolding.
Mold design is crucial for successful pneumatic demolding. The proper arrangement of air holes and air channels must be integrated with the part structure. For curved or deep-cavity parts, a circular air channel is created within the core. Radial holes then direct the airflow to the inner surface of the part to maximize contact area. For example, when producing a 200mm diameter and 150mm deep plastic cup, a ring of 0.8mm diameter air holes is placed in the center of the core, spaced every 30° around the circumference. Combined with the main air hole at the bottom center, this creates a three-dimensional air flow pattern, effectively addressing the demolding difficulties associated with vacuum suction in deep-cavity parts. Furthermore, the air holes should be rounded and polished to prevent airflow from leaving marks on the part surface. Sealing the air channel from the outside is also crucial. O-rings can be used to prevent air leaks and keep pressure loss below 5%.

Optimizing pneumatic demolding process parameters must be coordinated with the molding cycle, primarily focusing on the timing, duration, and pressure of the air jet. The air jet should be set 0.1-0.3 seconds after the mold opening action begins. This allows airflow to quickly enter and create thrust, just as the mold opens a tiny gap. Applying the air jet too early can cause the part to deform due to incomplete solidification. Applying the air jet too late can cause the part to begin separating from the mold, potentially creating a partial vacuum. The air jet duration is typically 0.5-2 seconds. Thin-walled parts can be shortened to 0.5-1 second, while thick-walled parts require an increase of 1-2 seconds to ensure complete release. Air pressure adjustment should be determined through trial molds. For example, when producing an ABS TV front cover, the initial pressure should be set at 0.6 MPa. If adhesion persists around the edges, increase the pressure by 0.05 MPa until demolding is smooth. The optimal parameters should be recorded and used for mass production. Furthermore, the compressed air should be dried and purified to remove moisture and impurities to prevent moisture from entering the mold cavity and causing water spots on the part.
Common troubleshooting issues with pneumatic demolding require specific measures for air leakage, incomplete demolding, and part deformation. If air leakage occurs, check the air pipe joints for looseness, check the mold seal for failure, or replace any worn solenoid valve cores. Incomplete demolding may indicate clogged or unevenly distributed air pores. In this case, disassemble the mold to clean plastic debris from the pores or increase the number of pores to optimize their distribution. Localized deformation of the part is often caused by excessive air pressure or concentrated air flow in a single area. This can be addressed by reducing the pressure or adjusting the pore angle to disperse the force. For example, a company producing plastic pallets discovered that corners were constantly warping. After investigation, they discovered that the pore angle was too tilted, causing airflow to directly impact the corners. Adjusting the pore angle to 30° relative to the surface completely resolved the deformation issue. Regular maintenance is also essential, such as weekly cleaning of the air source filter and monthly airway patency checks, which can significantly improve the stability of the pneumatic demolding system.