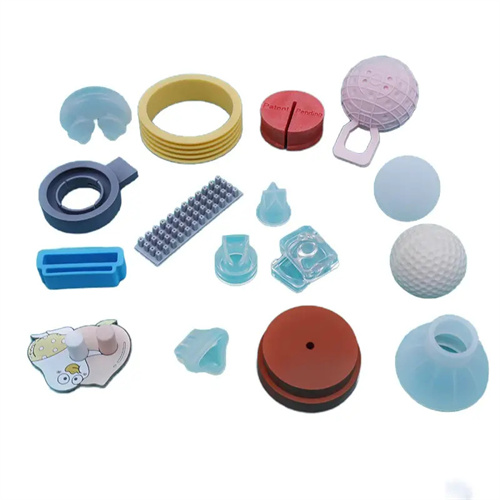
Dimensional accuracy of plastic parts
The dimensional accuracy of plastic parts refers to the degree of conformity between the actual dimensions of the plastic part and the designed dimensions. It is one of the core indicators for measuring the quality of plastic parts and directly affects the assembly performance and usability of the product. In industrial production, dimensional accuracy is usually expressed in tolerance grades (such as MT3-MT7 grades in GB/T 14486). Different application scenarios have significantly different accuracy requirements: precision electronic components (such as connectors) need to be controlled within ±0.02mm, while the tolerance for large plastic pallets can be relaxed to ±1mm. Deviations in dimensional accuracy mainly come from three aspects: material shrinkage, mold manufacturing errors, and fluctuations in the molding process. For example, the shrinkage rate of crystalline plastics (such as PP) is 1.5-2.5%. If the mold is not compensated for shrinkage, the size of the plastic part will be 1-2mm smaller than the design value, resulting in assembly difficulties.
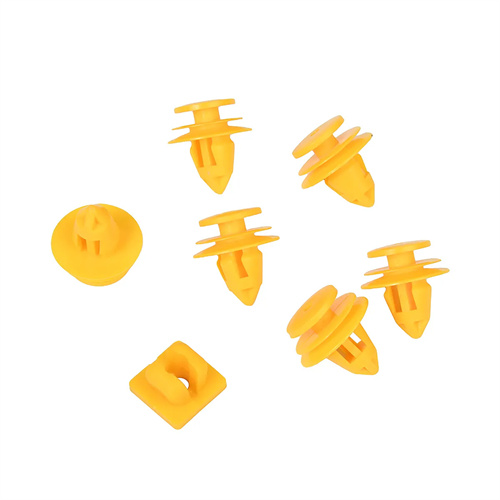
Material properties have the most fundamental impact on the dimensional accuracy of plastic parts, with shrinkage stability being a key factor. Crystalline plastics experience large shrinkage fluctuations due to volume changes during crystallization (e.g., PE’s shrinkage fluctuates within a ±0.5% range). In contrast, amorphous plastics (e.g., PS) have a stable shrinkage (±0.1%), making it easier to achieve high precision. Filled and modified materials (e.g., glass fiber-reinforced PA66) experience significantly lower shrinkage (from 1.5% to 0.3%). However, due to anisotropic shrinkage caused by fiber orientation, dimensional deviations of up to 0.2 mm/m can occur in different directions. For example, when producing glass fiber-reinforced PP gears, radial shrinkage is 0.8% and axial shrinkage is 1.2%. These must be compensated for in mold design; otherwise, gear pitch deviations can exceed 0.05 mm, impacting meshing accuracy.
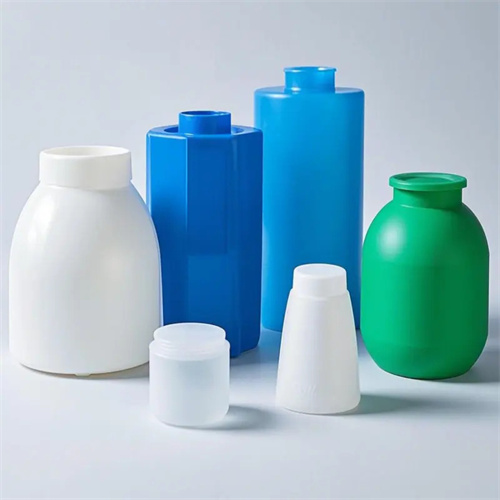
Mold manufacturing precision is fundamental to ensuring the dimensional accuracy of plastic parts. Dimensional deviations in the mold cavity are directly transmitted to the plastic part. The machining accuracy of mold components must be one to two grades higher than the precision of the plastic part. For example, to produce MT4-grade plastic parts (tolerance ±0.1mm), the mold cavity machining tolerance must be controlled within ±0.05mm. Mold assembly accuracy is equally important. The clearance between guide pins and sleeves (≤0.01mm) and the flatness of the parting surface (≤0.02mm/m) will affect the actual dimensions of the cavity. For example, a 0.1mm gap in the mold parting surface can cause flash on the plastic part, resulting in a 0.1mm oversize. Furthermore, mold wear gradually reduces precision. For example, for every 0.01mm of wear on the cavity surface, the plastic part will increase in size by 0.01mm. Therefore, mold materials should be made of high-hardness steel (such as H13 steel, with a hardness of ≥50HRC) to extend mold life.
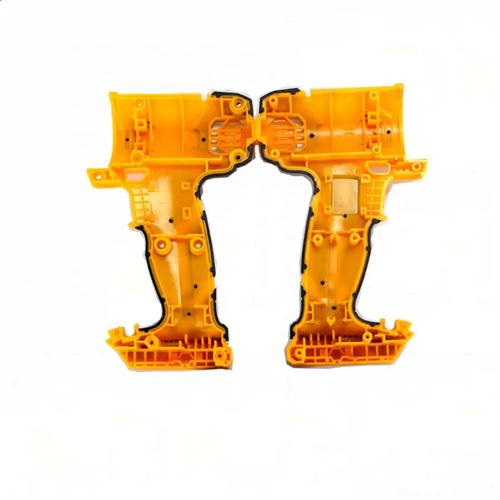
Fluctuations in molding process parameters are the primary variables contributing to part dimensional deviation, with holding pressure parameters having the most significant impact. Insufficient holding pressure can cause excessive part shrinkage, while excessive pressure can lead to overfilling and oversizing. A short holding time fails to adequately compensate for shrinkage, while a long holding time increases internal stress. For example, an ABS part measured 50.00mm at a holding pressure of 70MPa shrinks to 49.85mm when the pressure drops to 60MPa, and increases to 50.10mm when the pressure rises to 80MPa. Injection speed and temperature also affect dimensional variation: excessive speeds lead to excessive melt inertia, while excessive temperatures increase material shrinkage. Ambient temperature fluctuations (e.g., a workshop temperature difference of ±5°C) can cause mold temperature fluctuations, resulting in part dimensional deviations of ±0.03mm. Therefore, mold temperature must be controlled within ±2°C, and a constant temperature workshop (25±1°C) should be used if necessary.
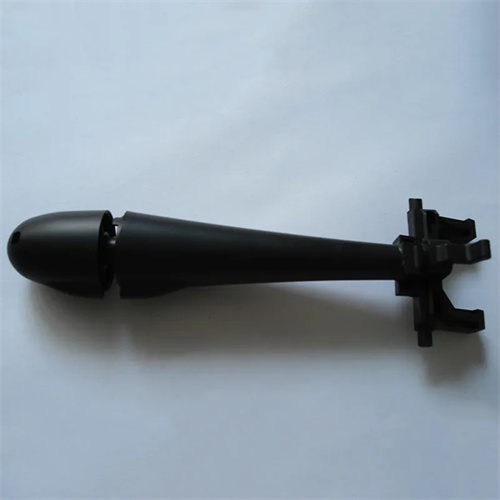
Comprehensive measures to improve the dimensional accuracy of plastic parts must begin with comprehensive process control. During the design phase, CAE simulations are used to analyze material shrinkage patterns and accurately compensate for mold cavities (for example, calculating cavity size based on shrinkage ratio = part size × (1 + shrinkage ratio)). Materials with low and stable shrinkage (such as modified POM, with a shrinkage ratio of 0.5 ± 0.1%) are selected. Molds are manufactured using high-precision machining equipment (such as five-axis machining centers with a positioning accuracy of ±0.005mm). Key areas are ground or electro-discharge machined to ensure a surface roughness Ra ≤ 0.8μm. Closed-loop control is employed in the process, with cavity pressure sensors used to adjust holding pressure parameters in real time to maintain in-mold pressure fluctuations within ±2MPa. Servo injection molding machines are used to improve shot volume repeatability to ±0.1%. Regular dimensional inspections of plastic parts are performed (for example, using a three-dimensional coordinate measuring machine with an accuracy of ±0.001mm). Statistical process control (SPC) is used to monitor dimensional fluctuations, and process adjustments are made promptly when the CPK value falls below 1.33. For example, a company has controlled the dimensional tolerance of plastic parts from ±0.1mm to ±0.05mm and increased the CPK value from 1.0 to 1.67 through the above measures.
